By Farnaz Behdinan

So you’re ready to take the leap on your craft and start your own small business! Whether that is making stickers, designing your own clay pottery, or selling digital planners: there is a place on Etsy for any creator. Here is the complete guide to many things I wish I knew before I started my Etsy.
My Journey
Some fun facts about on my journey on Etsy:
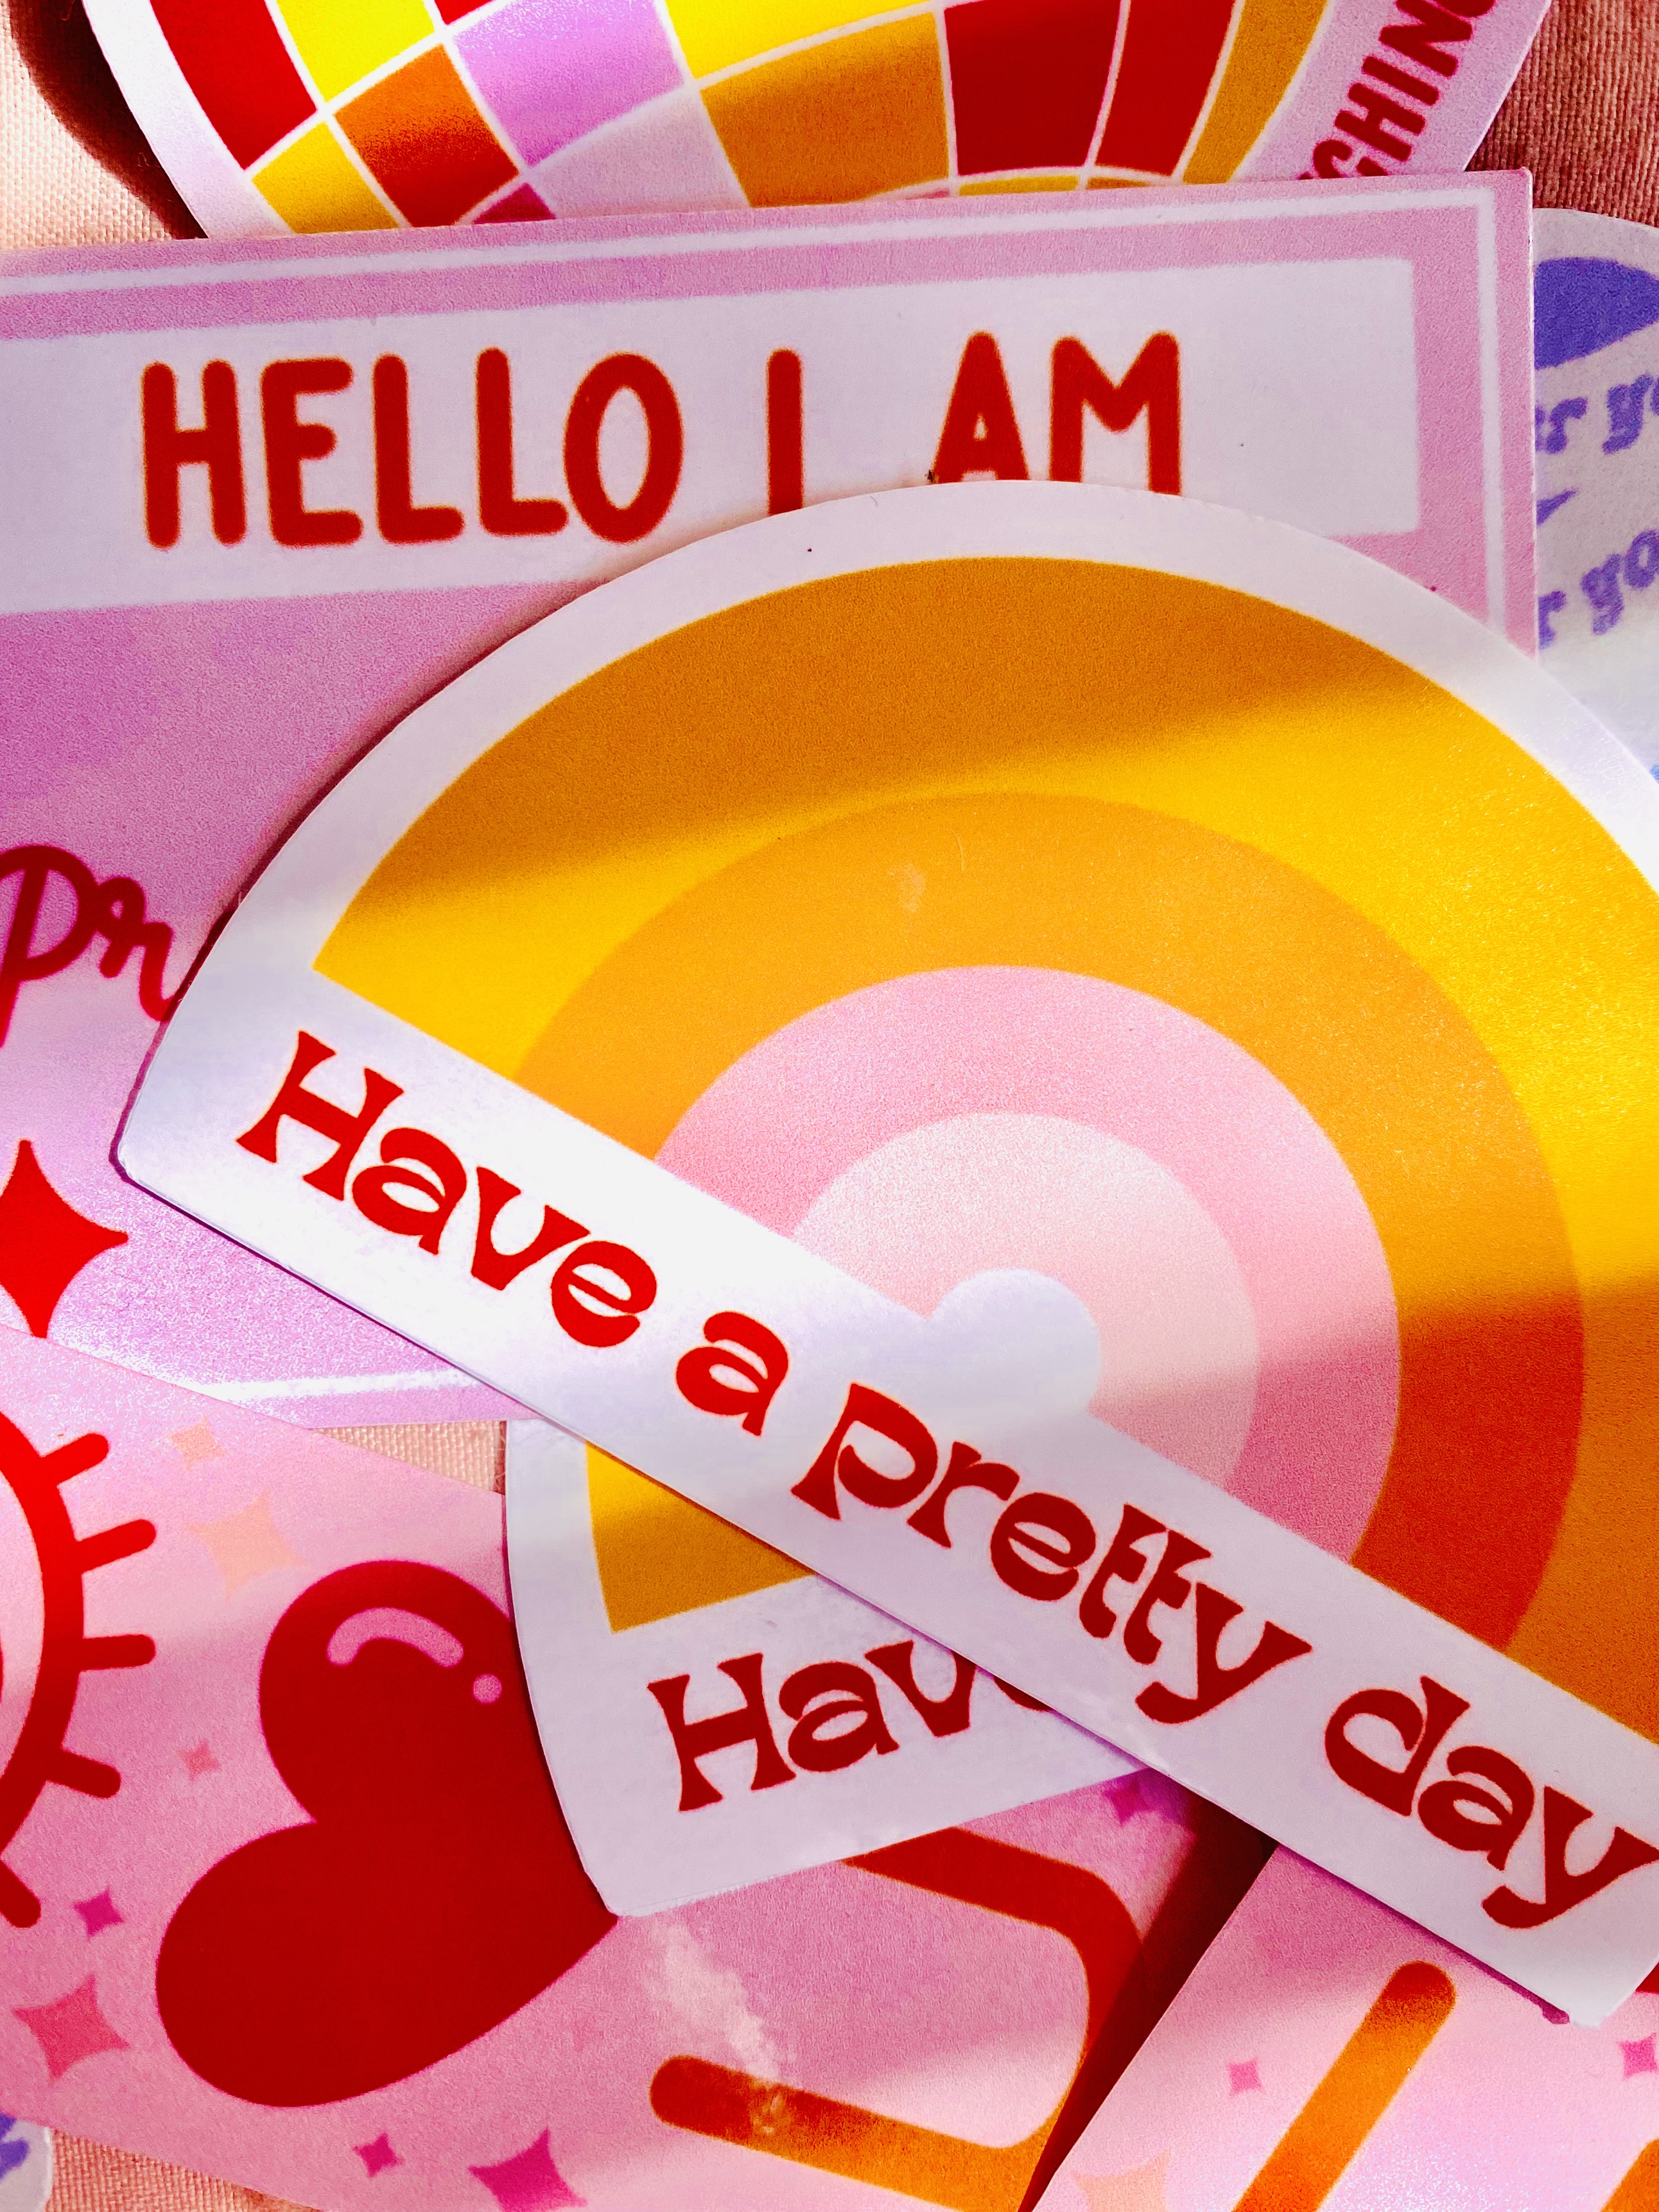
- During quarantine I started selling handmade and hand-cut stickers for everyone from small business owners to journaling gurus to Hydro Flask sticker enthusiasts.
- Megan (the amazing other half of this blog) and I started making stickers at the same time!
- I began posting about my journey on Instagram @farniedesigns. It has now grown into a community of over 1000 individuals and I have met some super cool people who also started their own small businesses!
- Since opening, I’ve had over 300 sales and sent my stickers out to over 30 states 🙂 https://www.etsy.com/shop/Farniedesigns
Creating Your Etsy Account
My best advice to anyone looking to start their small business is to just start. It doesn’t have to be perfect, mine surely wasn’t and starting your account is easy! You can use this link to open up your Etsy shop and get 40 Free Listings! Add in your personal info, shop info and you’re all set!
If you have trouble thinking of a name for your shop, some recommendations I have for choosing a shop name:
- Something that is easy to say and catchy
- Something that relates to what you are selling
- And most importantly: a shop name that isn’t similar to other shop names!
Make sure that you are complying to all of Etsy’s policies before creating your account or it will come back to haunt you later and they WILL suspend your account. Another important detail is to put in your bank account information and your preferences if you want to get paid starting out. If you’re ready to start selling on your account, you will first need products to showcase. It is recommended to have 2 or more listings to start and we will get into the details about creating your first listing in the next section.
If they are physical products:
- Clear pictures that display their qualities are the best way to get traffic on your page! You can check out some ideas on this pin I made: Product Photography Ideas.
If you are selling digital products:
- Have product mock-ups and show how people can use your product! A step by step guide on how they can download your product would also be super useful so customers can trust you. Here is a Digital Listing Example you can use as a reference to showcase your products!
Before Your First Listing
Before you even create your first listing, I recommend that you research what other Etsy sellers are doing in your niche. What titles are they using? What key words pop up? What materials do they list? What’s in their description? What’s their pricing? When I first started out, I had simple titles that barely got any attention on Etsy’s search engine. An example of my first listing was this:

After some more research, I found that there are better ways to form your title so that it can get the maximum reach. Notice this example from my more recent sticker post.

This is one of my top reaching stickers that got boosted by Etsy. Notice the difference in the title? This time I used as many buzz words as I possibly could. This gets you noticed in more searches and that means more $$$ for your business. While this method isn’t 100% proven to get you noticed, it will definitely increase your chances.
Creating Your First Listing
Ok! Now that you’ve started your shop, taken your product photos, and done your research, you’re ready to create your first listing! We’ll walk through this step by step, and once you’ve created your first listing the rest will be a breeze!
First you will need to open up your Shop Manager and go to Listings. And at the top of the page you want to click + Add a listing.


Pictures and Video
Next is the fun part: adding in your photos and/or video! Some tips when uploading:
- Upload your pictures in portrait mode.
- Double check that your primary photo showcases the best view of your product!
- Don’t hesitate to adjust the thumbnail! This is what your customer sees when they’re scrolling through Etsy and you want them to see your whole masterpiece.
- Etsy recommends that you post a video of your products and I do too! It can show how customers can use your product or simply show the details that can’t be seen in a photo.

Title and Category
The next step really varies on what you are selling. It will ask you to put a Title which we already discussed, ask who made it, if the product is finished or made to order, and when it was made. Your Category is a description of your product and they will add in the craft type on the bottom. I click on all of them because it will get me the most exposure.

Underneath this is several optional items. I recommend filling in as many as you can because the more description the better it is for your buyers. Think of it this way, if you were shopping what would you want to know?
Renewal and Description
Put in as many details as you can and scroll down to the next required section which is Renewal Options. I use Automatic because I want to keep my listings up without renewing them, but if you only want it up for a small period of time then I suggest Manual.
In this section you will also need a simple but effective Description of your products. I usually have one sentence that is specific to the sticker itself and then add a couple of sentences describing the general quality of the stickers. At the end I include my socials as well.

Tags and Materials
While the following three sections after the description say they are optional, I highly recommend that you spend the extra time to fill them out. The most important one being the Tags. They are going to get you noticed by Etsy searches so if you want to have high searchability, then I recommend filling out all of the Tags that you are provided with.
I used the Section feature when I had more stickers as a way of organizing my shop by products, but it is not necessary when you are just starting out. As for Materials, you should list the main materials you use in your products.

Inventory and Pricing
Next, as you enter the territory of Inventory and Pricing enter the number of items you have in the quantity section. When pricing, the key is to put yourself in your customers shoes and think if you would purchase your own product if you saw the price tag.
Variations
Moving on, Variations of your product are optional, but if you have different colors, sizes, etc of a similar product, I highly recommend that you use this function! It will help you save money and time from creating a new listing. While my heart sticker doesn’t have a variation, this is what you will see when you are prompted to create a Variation for height.


Personalization
If your item is customizable, then it’s crucial to turn on the personalization feature. In the description, some like to ask their customers to message them about the customization once they purchase but if it is something as simple as a name then you can prompt them to enter a name instead!
Shipping
You’re almost there! You made it to Shipping! This one is tough so hang tight. If you are selling anything outside paper goods, and one that requires a box, I recommend that you measure the size of your packaging materials and weigh everything. This is really all you need to set up shipping but it is SO important. If you want to offer free shipping it is still important to know how much it costs to ship your item, and you can figure that out in the shipping section! Overall, this is probably the most difficult, but once you are done you are ready to publish!
Publishing and Final Tips
To be clear, Etsy will charge you 20 cents for every listing, and will also take a small percentage of your sales. However, like I mentioned, you can use the link for 40 Free Listings! Finally, all your hard work has paid off in creating this listing because you just made your future selves life much easier.
When you go back to create another listing, don’t bother to press the add a listing button, unless your product is completely different from your original listing. All you have to do to make your life easier is click the Settings Button next to your previous listing and press Copy! This will copy all of your previous hard work and now you only need to tweak some small features.
Final tip: make sure to market your products on social media to get more sales and don’t feel discouraged if your only customers are your friends and family at the start. If you keep it up people will notice you!
If you need any help don’t hesitate to contact us on the contact page! There’s also several Etsy Seller groups on Facebook (or I guess they’re Meta now) that you can join to answer all of your burning questions. If this post helped you start your small business send us your link so that we can support each other! Finally, I would like to say congrats and welcome to the small business community!
EnJoy More of Life!
